Genesis AI Avatar Studio Dashboard
After logging into Genesis AI Avatar Studio, you’ll land on the Dashboard, your central hub for managing all your AI avatar projects.
From here, you can:
- Preview available avatars
- Create and manage projects
- Explore AI avatar case studies
- Find answers to FAQs
- Manage your account settings
You’ll also find a set of utility icons in the top-right corner - see details in the Utility & Notification Panel section below.
Avatar Collection Preview
At the top of the dashboard, you'll find a curated library of pre-designed AI avatars.
You can browse the available characters using the side-by-side scrollers or select View Avatars in the top corner to open the full collection.
Clicking on any avatar will launch a demonstration video, showcasing the appearance and movement of the chosen digital human in more detail.
This lets you get a feel for each character and decide which one aligns best with your goals. Once you find a match, you can instantly start a new project directly from this preview frame by using the Create New Project button below.
Project Management
The middle pane of the Genesis Studio dashboard gives you a centralized view of all your existing AI avatar projects.
From here, you can quickly check each project's status (Active or Inactive), create new projects, and manage existing projects using the options available in the project’s menu.
This menu appears under the three-dots icon in the top-right corner of each project tile and lets you:
- Edit project - select this option to open the configuration wizard for your AI avatar project
- Delete project – use it to permanently remove a project that is no longer needed
- Activate/Deactivate project – allows you to either initiate the subscription purchase or manage its auto-renewal (the exact functionality depends on your project’s current status)
Case Studies & Best Practices
This section features a curated set of our case studies, highlighting real-world applications and successful implementations of RAVATAR 3D AI avatars and digital humans across various industries.
These examples demonstrate how businesses and organizations leverage real-time AI avatars in areas such as customer service, marketing, education, brand representation, public communication, and more. They offer a practical lens into what’s possible, helping you better understand the technology and discover potential use cases for your own undertakings.
The collection is continuously updated with proven success stories and evolving best practices.
FAQ Section
The Studio Dashboard also includes a Frequently Asked Questions (FAQ) section at its bottom, addressing common queries related to subscription management and billing terms, avatar customization, LLM integration, and more.
If anything is unclear for you, we suggest going through this information first — most questions that a new Studio user may have are already answered here.
If the info you’re looking for isn’t covered here, feel free to reach out to our team at support@ravatar.com or use the Support option in the dashboard (look for the envelope icon in the top-right corner)
Utility & Notification Panel
The top-right section of the dashboard features a row of utility icons that give you quick access to additional tools, settings, and support.
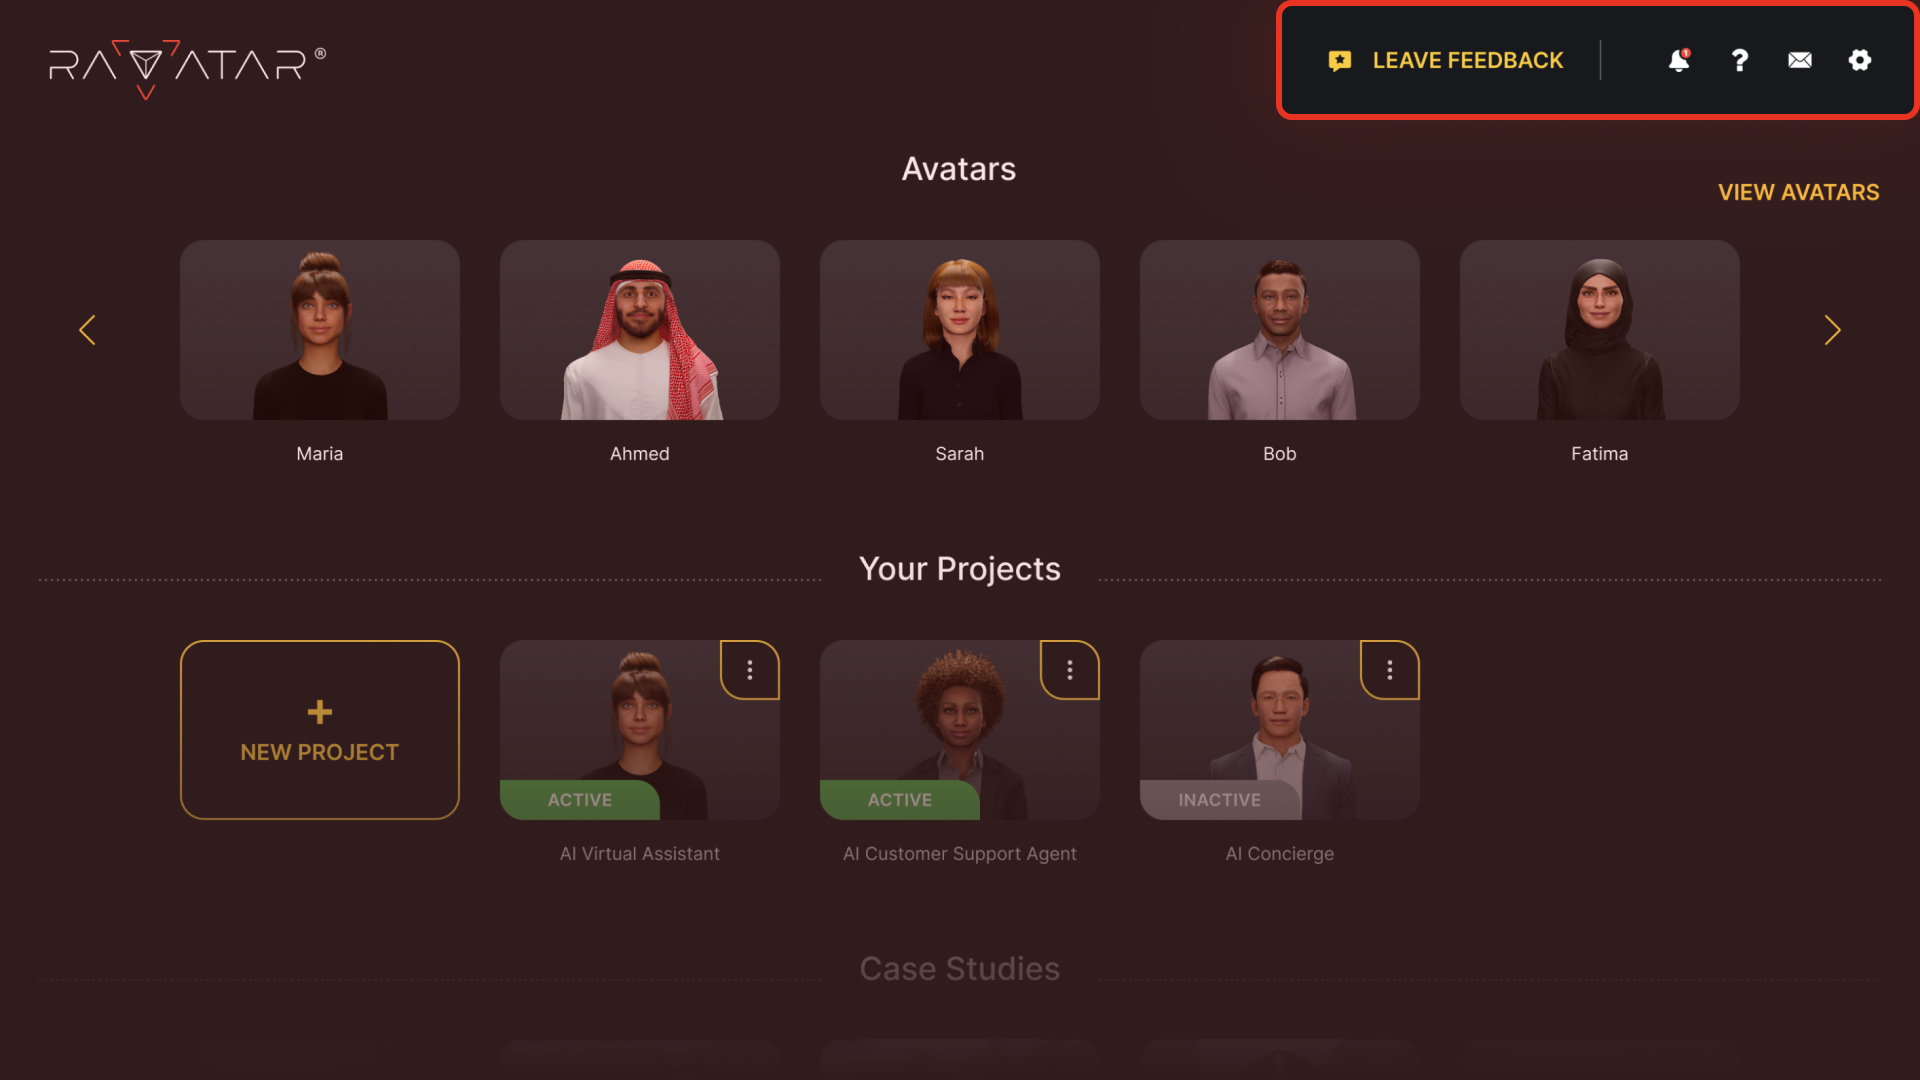
Here, you’ll find:
- The Leave Feedback option, clicking which opens a dedicated window for rating the platform and sharing your experience:
Here you can describe your experience with the Studio, including both positive observations and areas for improvement. Your comments go directly to our team, and we genuinely appreciate your input!
- Notifications panel, where you can view system messages related to your projects, avatar resource usage, and other activity on your account.
- Help menu, shown as a question mark icon, with links to the platform’s Terms and Conditions, Privacy Policy, and general information about the company and its offerings.
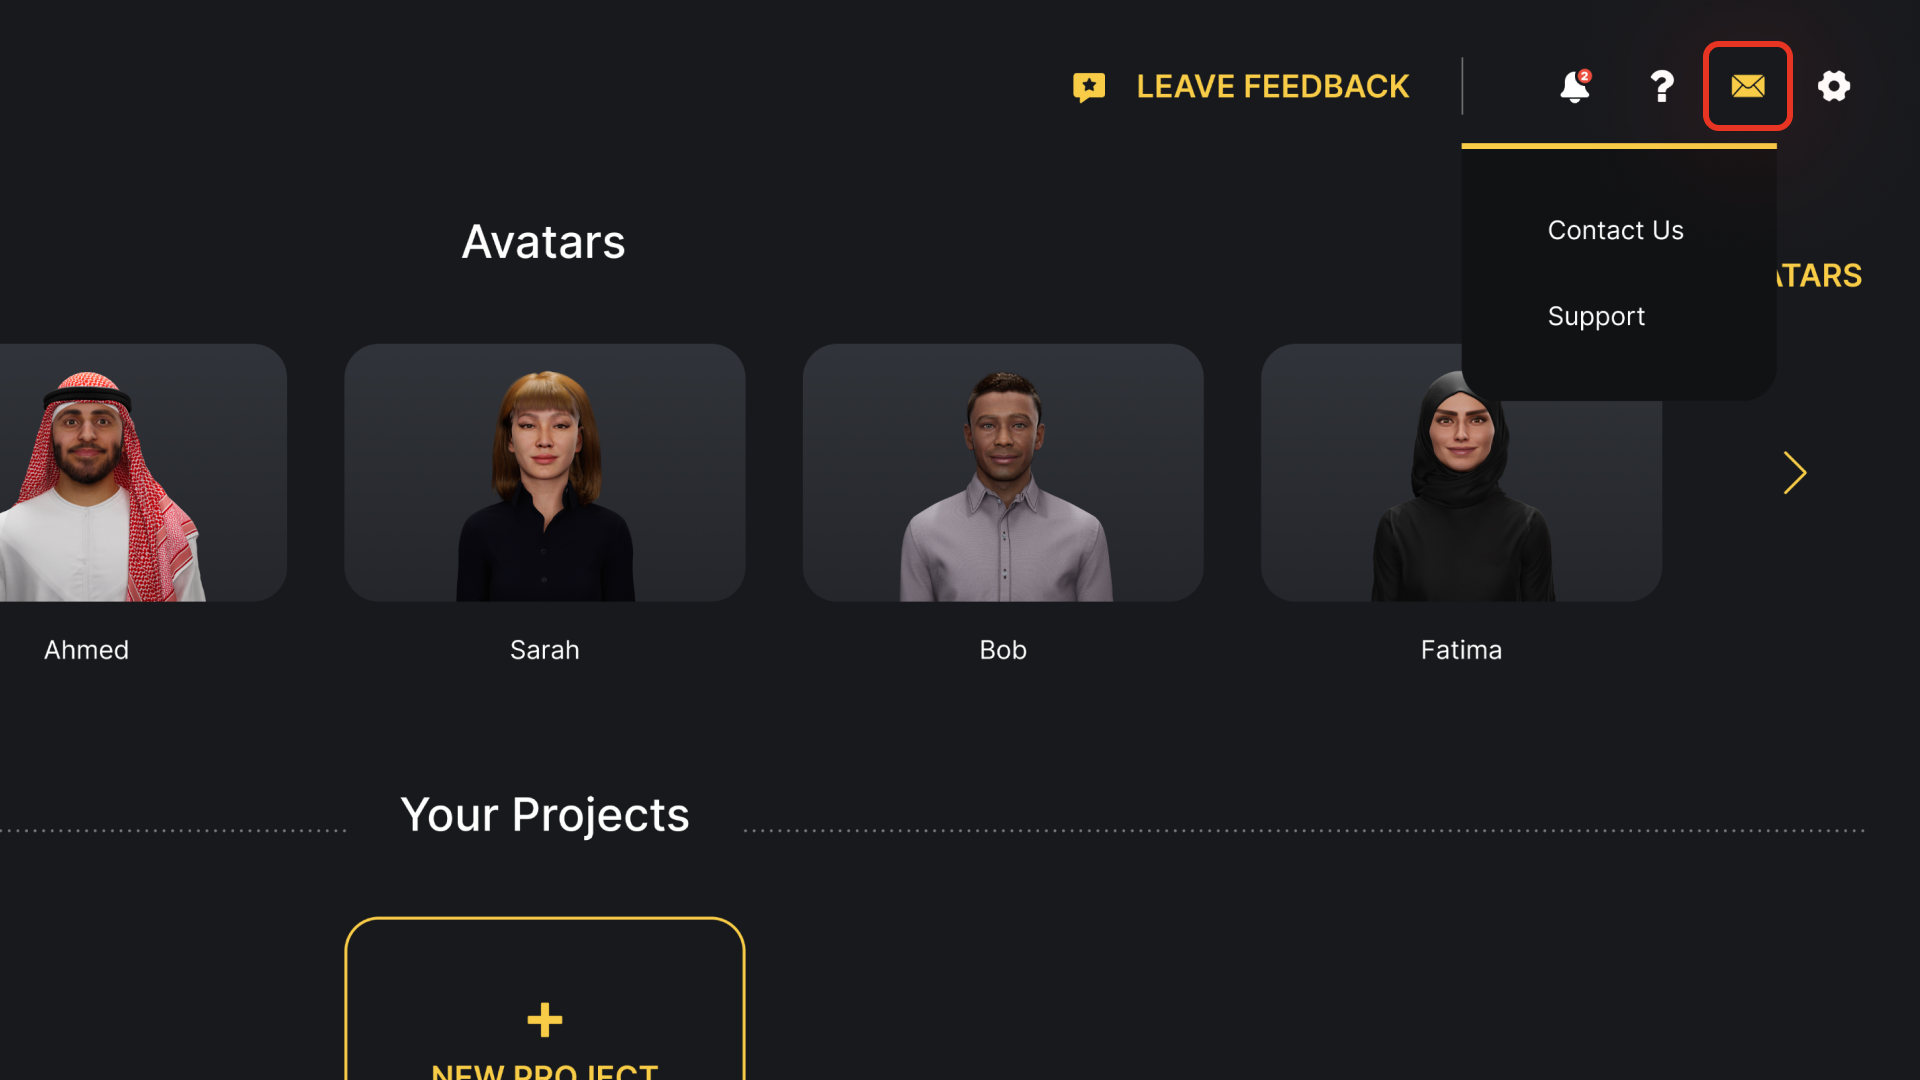
- Contact & Support menu, found under the envelope icon, which gives you access to two forms: Contact Us for general inquiries like custom AI avatar development or service questions, and Support for submitting technical issues directly from the dashboard.
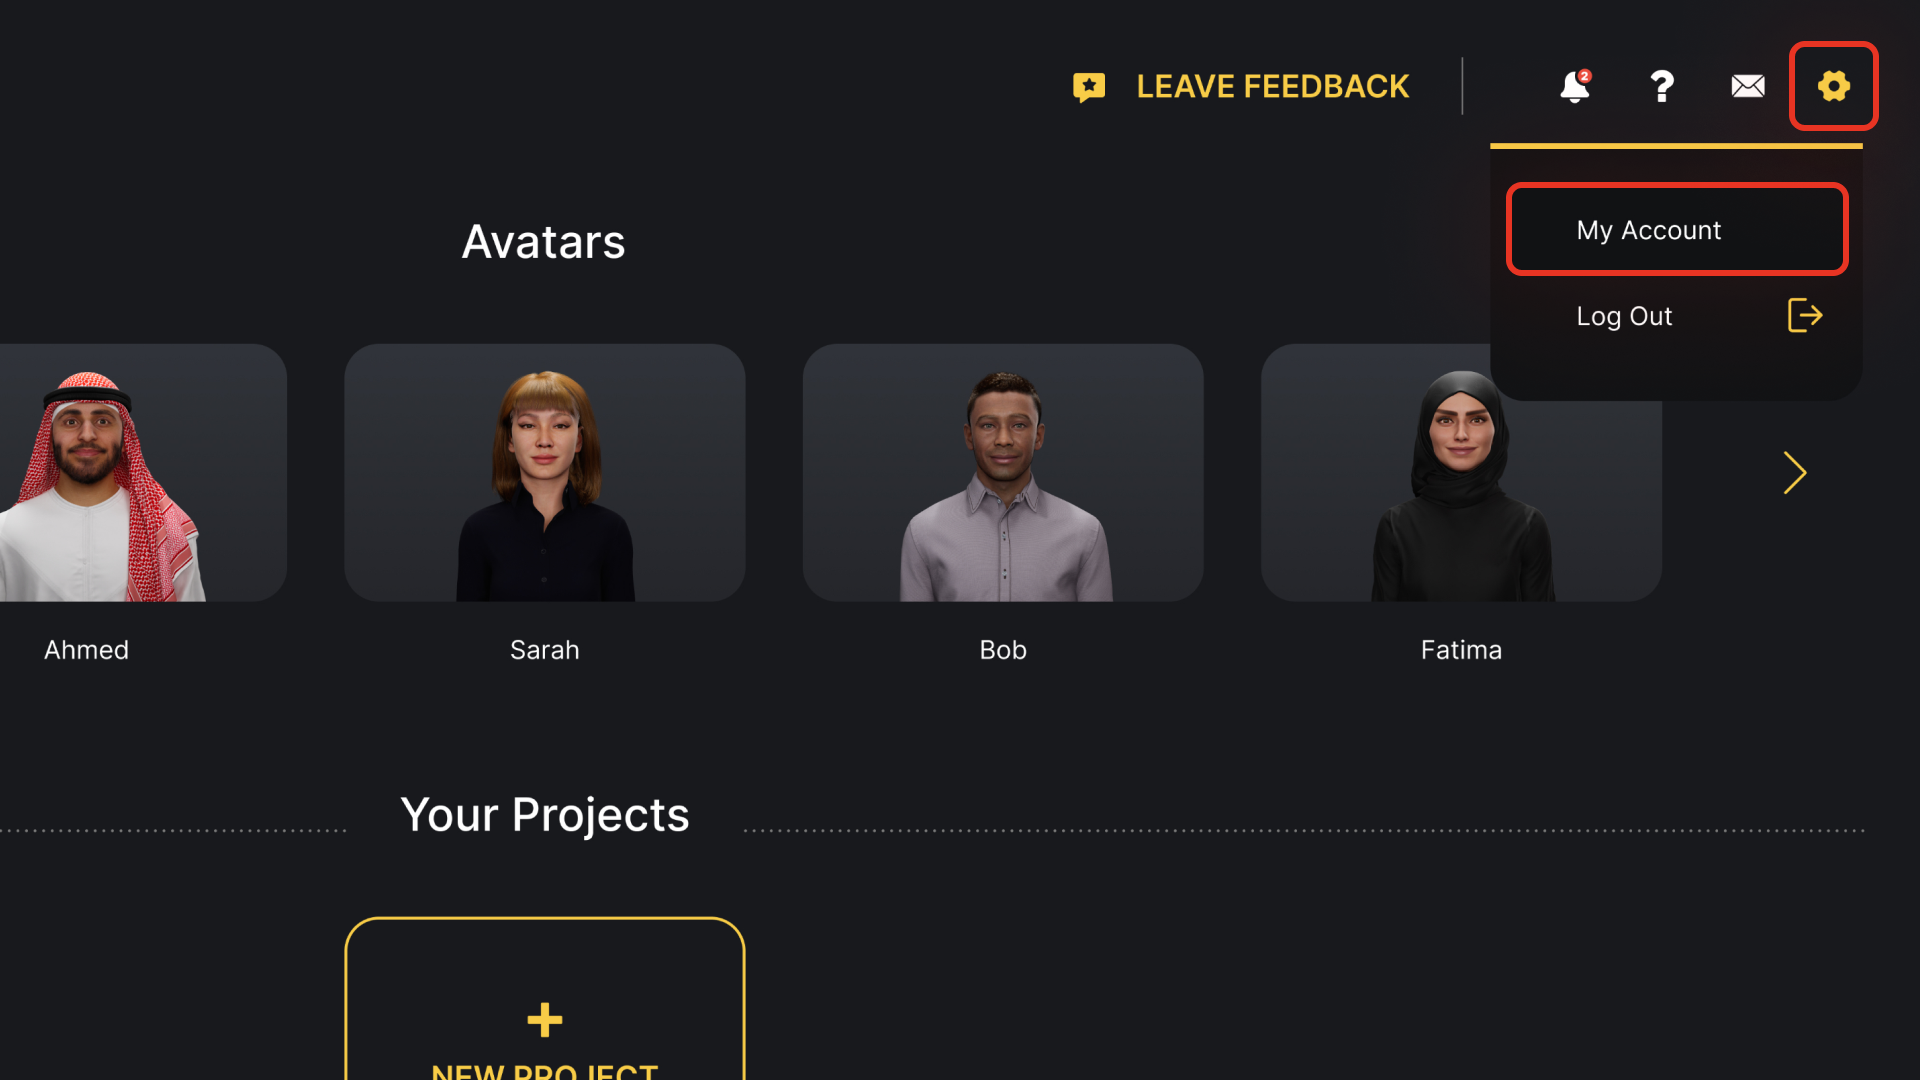
- Settings menu, which allows you to access your account preferences or log out from the Studio.
All the described icons are always visible on the Dashboard, so you can access these utilities at any time while working on your projects.
Account Settings
Preferences for your Genesis Studio user account are available under the My Account option within the gear icon menu at the top right of the dashboard:
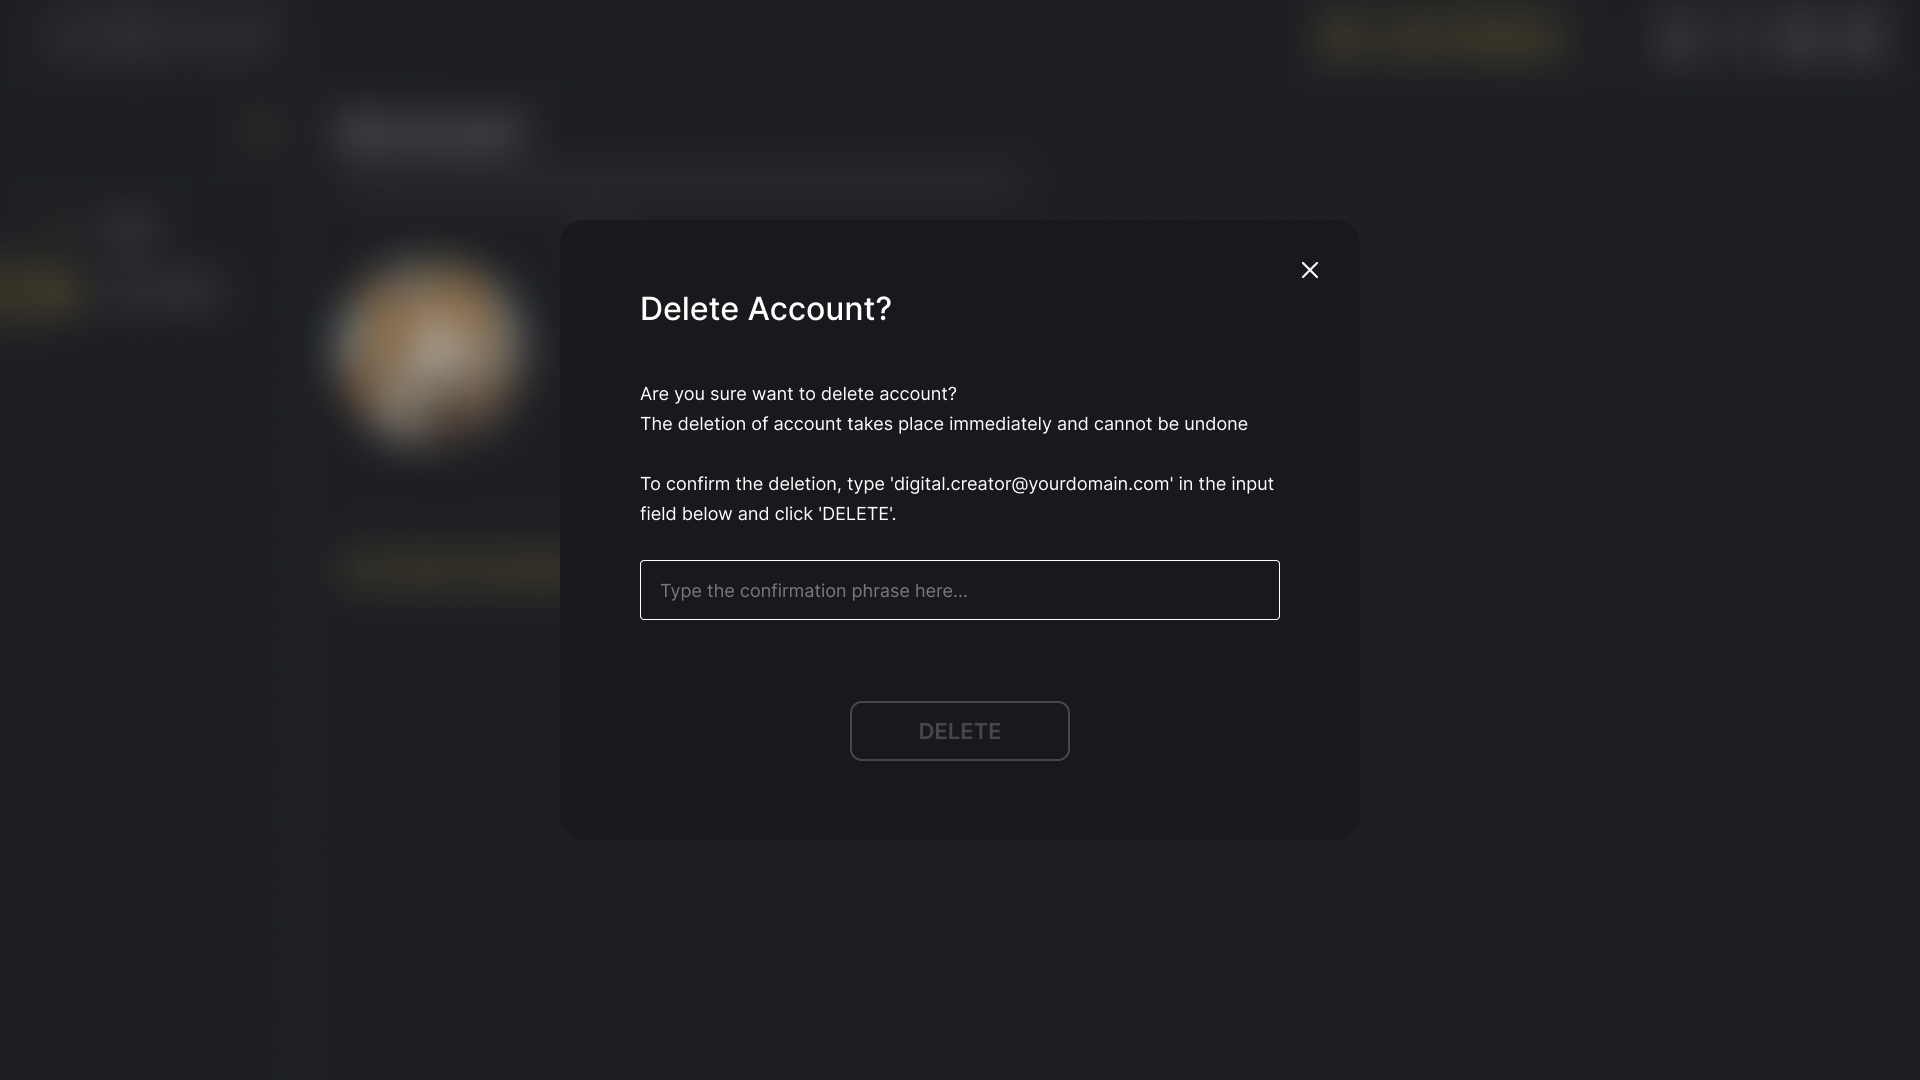
In this section, you can review your account details, such as your name and email address, and access the option to delete your account if necessary:
If you decide to delete your account, select the corresponding option below and confirm your choice in the pop-up window that appears.